
Programming Lab 1 : Introduction to Java
CSCI-UA 9102, Data Structures

In this first part, we will set up your computers to use Java. A first important tool to have whenever you start coding is a good text editor. A good choice is sublime text
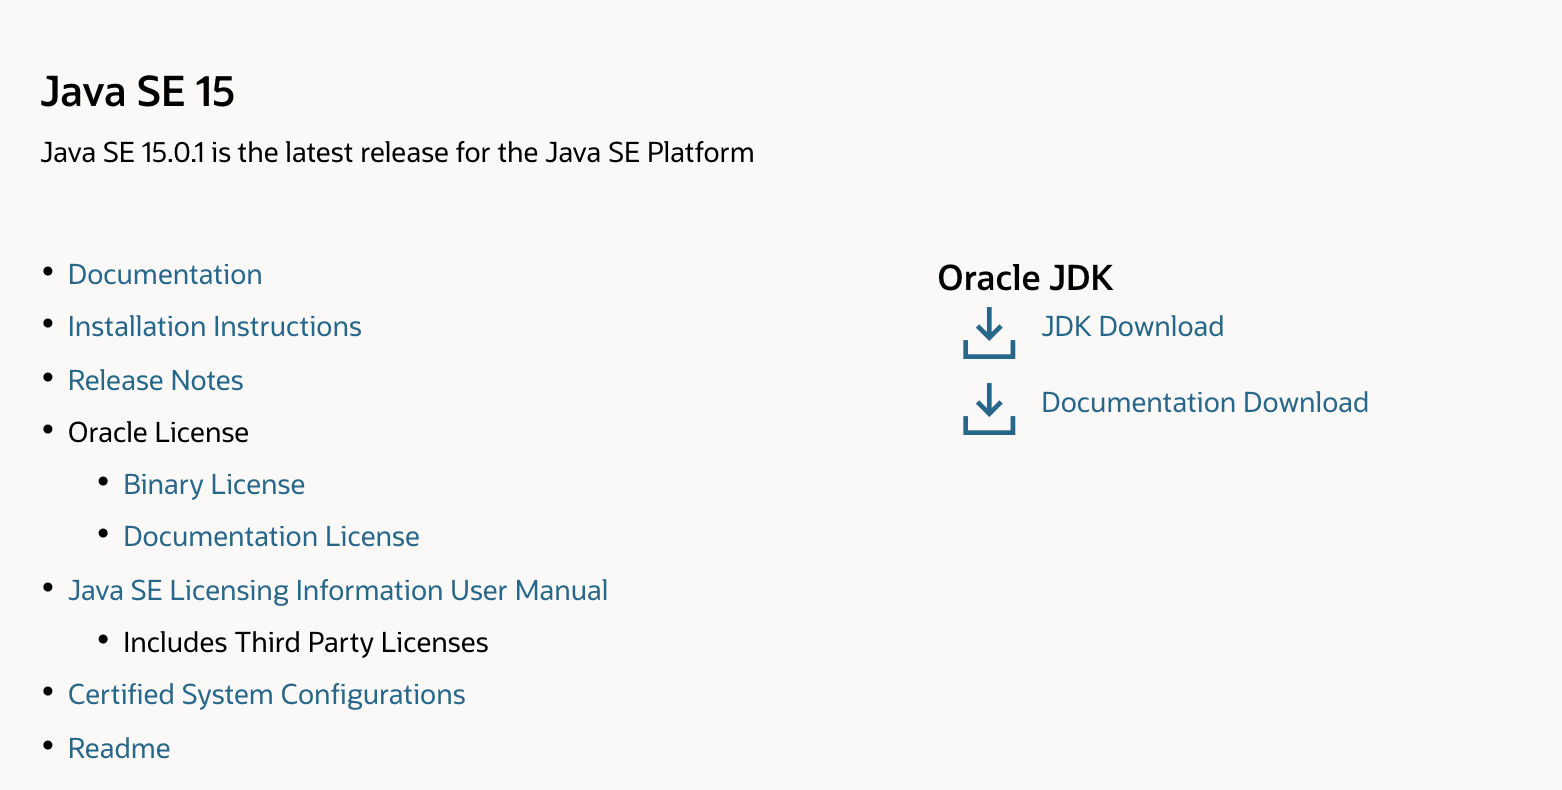
Start by going to the Oracle website and download the Java Development Kit. Follow the link “JDK download” as shown below


Start by installing homebrew. You can do this from the terminal. You can use brew doctor to check that brew is correctly installed. You might encounter minor warnings which is not a problem. If you encounter a warning that requires you to download command line tools you might want to check the following post
$ brew install java
########################################################################## 100.0 %
==>
==>
For the system Java wrappers to find this JDK, symlink it with
  sudo ln -sfn /usr/local/opt/openjdk/libexec/openjdk.jdk /Library/Java/JavaVirtualMachines/
openjdk.jdk

openjdk is keg-only, which means it was not symlinked into /usr/local,
because it shadows the macOS `java` wrapper.

If you need to have openjdk first in your PATH run:
  echo 'export PATH="/usr/local/opt/openjdk/bin:$PATH"' >> ~/.zshrc

For compilers to find openjdk you may need to set:
  export CPPFLAGS="-I/usr/local/opt/openjdk/include"
$ javac -version$ brew install git$ git --version$ sudo apt install openjdk-14-jdk gitNow that you are set up with Java and git, you will learn how to get access to the labs through github. If you do not already have one, start by opening a github account. You might also want to check that your git installation was done correctly by typing the following command
$ git --versionIn order to use the repository with git, you need to intialize this repository as a git repository
Create a directory (you can put it on your desktop) and call it ‘CSCIUA9102‘. Once you have the directory, initialize it as a git repository with
$ git initNow that your directory is set up, we will try a couple of the git commands. In the git repository, create two files, let’s say file1.txt and file2.txt. Each of those files should contain a version number. I.e the first line should be version1. Github works with two respositories. A remote repository (where the labs are going to be posted) and a local copy of that repository (the copy you have on your desktop). When making changes to your files locally, you will keep track of your changes through the command ‘git commit‘. Once you have edited the content of a file, for example file1.txt, you need to first prepare this file (i.e. move them to the stagging area) for the next commit which will keep track of the changes you made so that you can then share those changes with your other collaborators online. This can be done through the following lines
$ git add file1.txt

$ git commit -m "your legend"$ git add .
$ git commit -m "your legend"$ git commit -m "updated file1"
[master 2e339aa] updated file1
2 files changed, 2 insertions(+), 1 deletion(-)
create mode 100644 file2.txt
$ Modify any of the two files. For example, update file2 to version 2. Then type the following command
$ git status If you have modifications that haven’t been staged and commited, git status will point them to you and you should see something like the lines below
 $ git status
On branch master
Changes not staged for commit
    (use "git add ..." to update what will be committed)
    (use "git checkout -- ..." to discard changes in working directory)

       modified: file2.txt

no changes added to commit (use "git add" and/or "git commit -a")
 $ git status
On branch master
nothing to commit, working tree clean $ git checkout -- file2.txt
Now that you are comfortable with the local aspects of github, we will look at how it really leverages the file sharing experience. The first thing you should do now is send an email to the address ‘CSCIUA9102Students@gmail.com’ with (1) your github username and (2) your NYU campus ID (the number is of the form Nxxxxxxx). As a result to this step, you will be given access to a repository of the form https://github.com/CSCI-UA9102-Students/Nxxxxxxx where the x should be replace by your campus ID. You should then be able to proceed with the next few steps.
Start by cloning the repository. To do this first navigate to the spot where you want that repository to be stored on your laptop and once you are there, use the following line in the terminal
$ git clone https://github.com/CSCI-UA9102-Students/Nxxxxxxx.git That will create a local copy of the ‘Nxxxxxxx’ repo on your laptop. This repository is the repository in which you will store and submit your assignments.
Then you can add the repo of the course (note that when typing this command, you must be located in your )
$ git remote add DSmain https://github.com/acosse/DataStructures2021.git This repository is the one from which you will pull to access the assignments for the course.
If you have implemented the previous steps correctly, you should now be able to see a origin repository and the DSmain repository. You can check this by typing the following command
$ git remote -v
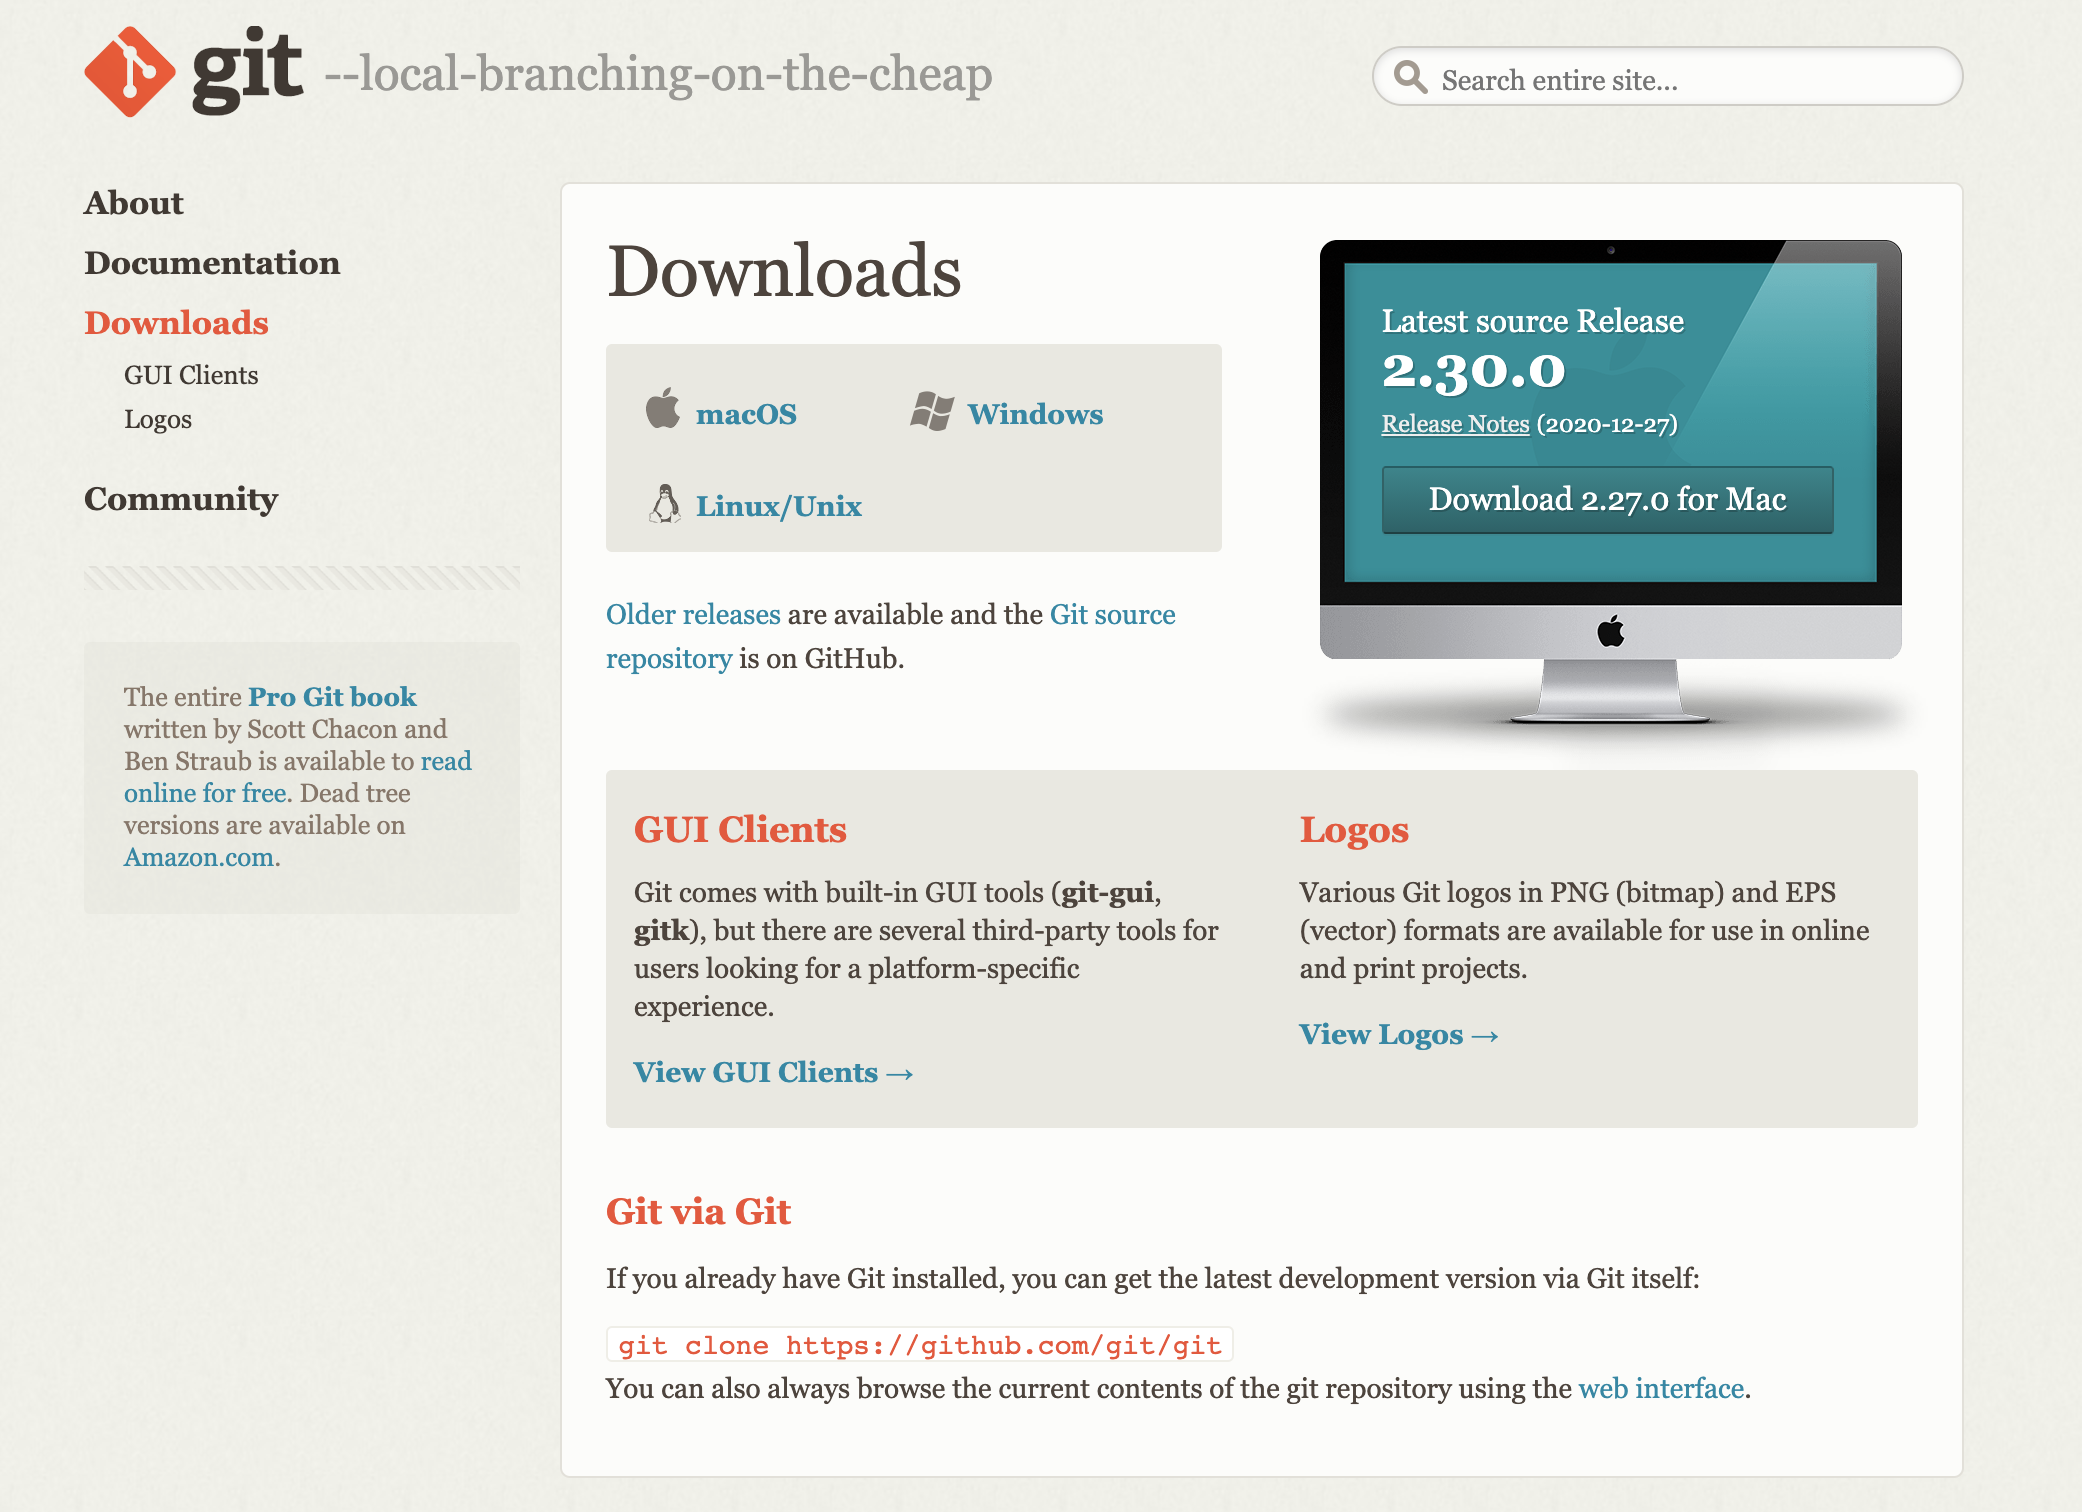
Now that you have a copy of the course repository, you can pull whatever files are stored in this directory using
$ git pull DSmain masterYou should do this regularly (especially once a new assignment has been posted to make sure you are up to date with all the modifications). You should now see the content of the DataStructures2021 repository including a ‘lab1’ folder.
You can start completing the files from the lab1 subfolder. Once you have made some modifications, you can update your repository (i.e Nxxxxxxx) by adding (the whole lab1 subfolder or whatever files you modified), commiting and then pushing:
$ git add lab1/*
$ git commit -m "whatever modifications you made"
$ git push origin master
Again, you should do this regularly to make sure to backup your work (especially on the assignments)
The remaining items below deal with the submission of the assignments
In addition to your submission on github, you will be required to submit your assignments through Gradescope . You sign up fo free with your NYU email but you should also be able to access Gradescope through NYU Classes. Once on NYUClasses or on gradescope, you should look for the course “CSCI-UA 9102: Data Structures, Spring 2021” and then register on Gradescope for this particular course. You might be asked for an Entry Code. If so you can use 74EZ73.
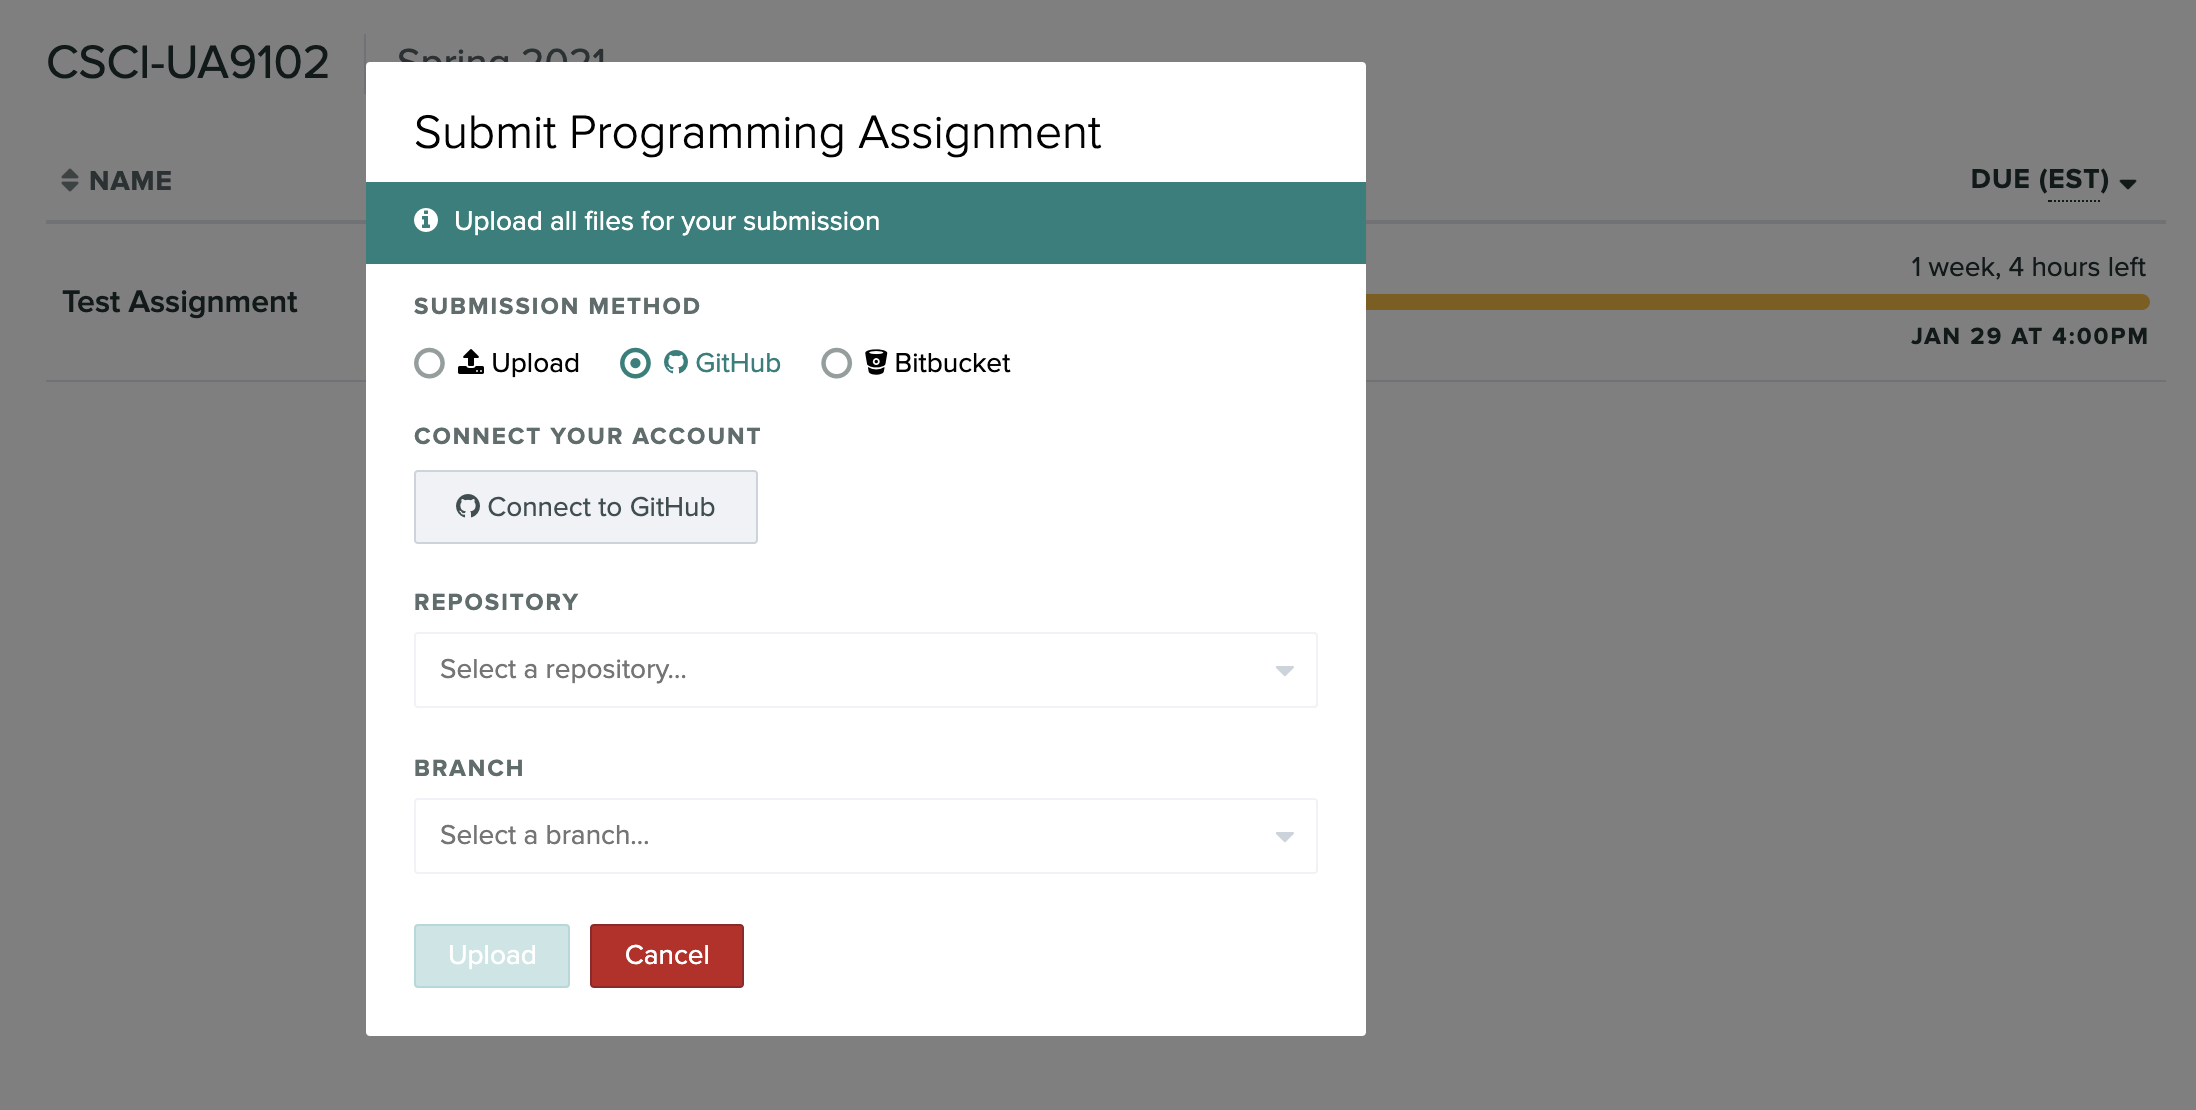
Once you have access to GradeScope, you should be able to find, by following the link to the CSCI-UA9102 course, the first assignment (Assignment 1). You should then be able to submit your solutions. Guidelines for homework submission can be found here. Ideally you should submit your work via your github repository as shown below (specifying as repository your https://github.com/users/CSCI-UA9102-Students/Nxxxxxxx and as branch, the master branch). Do not panic if you can’t proceed with the submission through github, you also have the possibility to submit your java file manually (although the former option is preferred).
If you access directly through Gradescope, you should see something similar to what is shown below. From this you can register by using the course code 74EZ73 together with your email address.

Once you are logged in, your display should look like the capture below. Click on the course
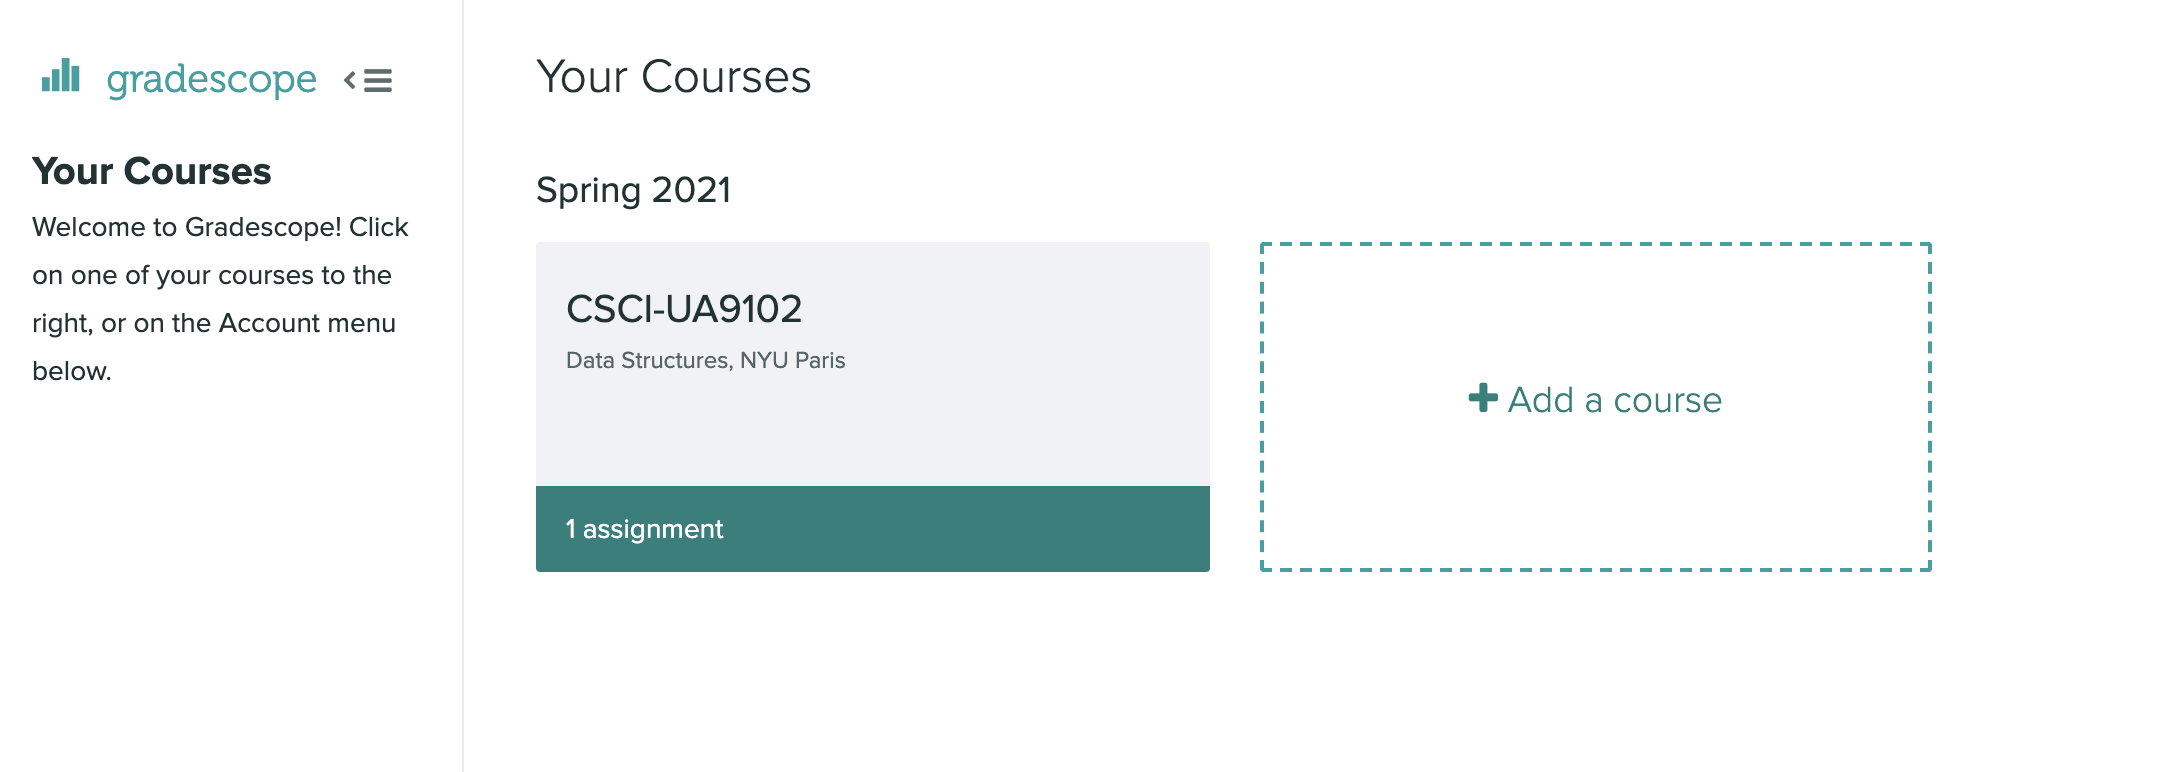
Once you have joined the course you should be able to see the existing assignments. In particular, you can see how much time is left before the submission deadline.

Click on the assignment. You will then see the a window similar to the one below. You see that you can upload
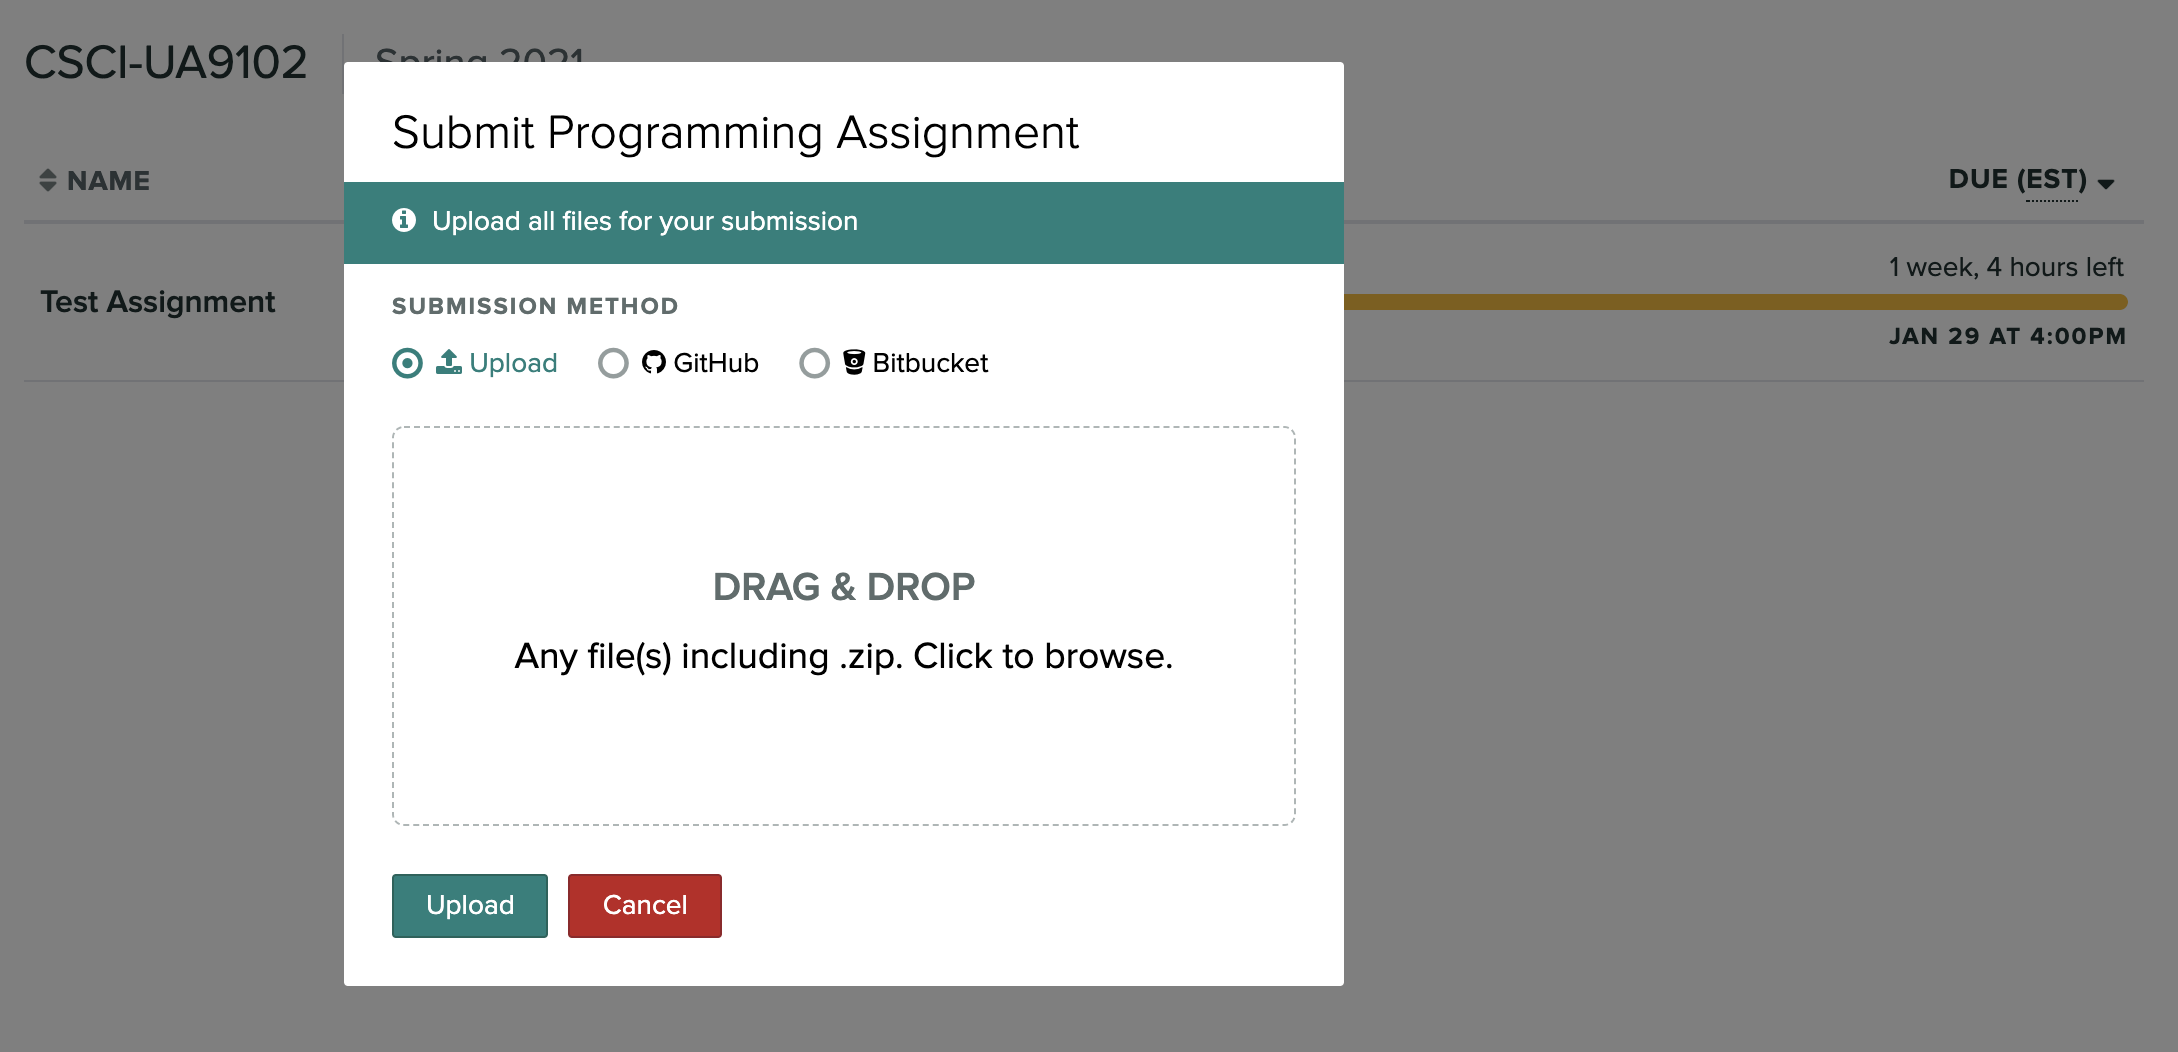
Finally if you select to submit through github, the following window should pop up. As indicated above, you can then provide the address of your repository on https://github.com/users/CSCI-UA9102-Students/Nxxxxxxx and specify ‘master’ as the branch.
In this first part, we will review the basic concepts of Java (including classes and objects, constructors, the main method, strings,…)
// Your First Program

class HelloWorld {
    public static void main(String[] args) {
        System.out.println("Hello, World!");
    }
}
$ ls
HelloWorld.class      HelloWorld.java
$ java HelloWorld
$ java HelloWorld
Hello World!
In this first part, we will review the basic concepts of Java (including classes and objects, constructors, the main method, strings,…)